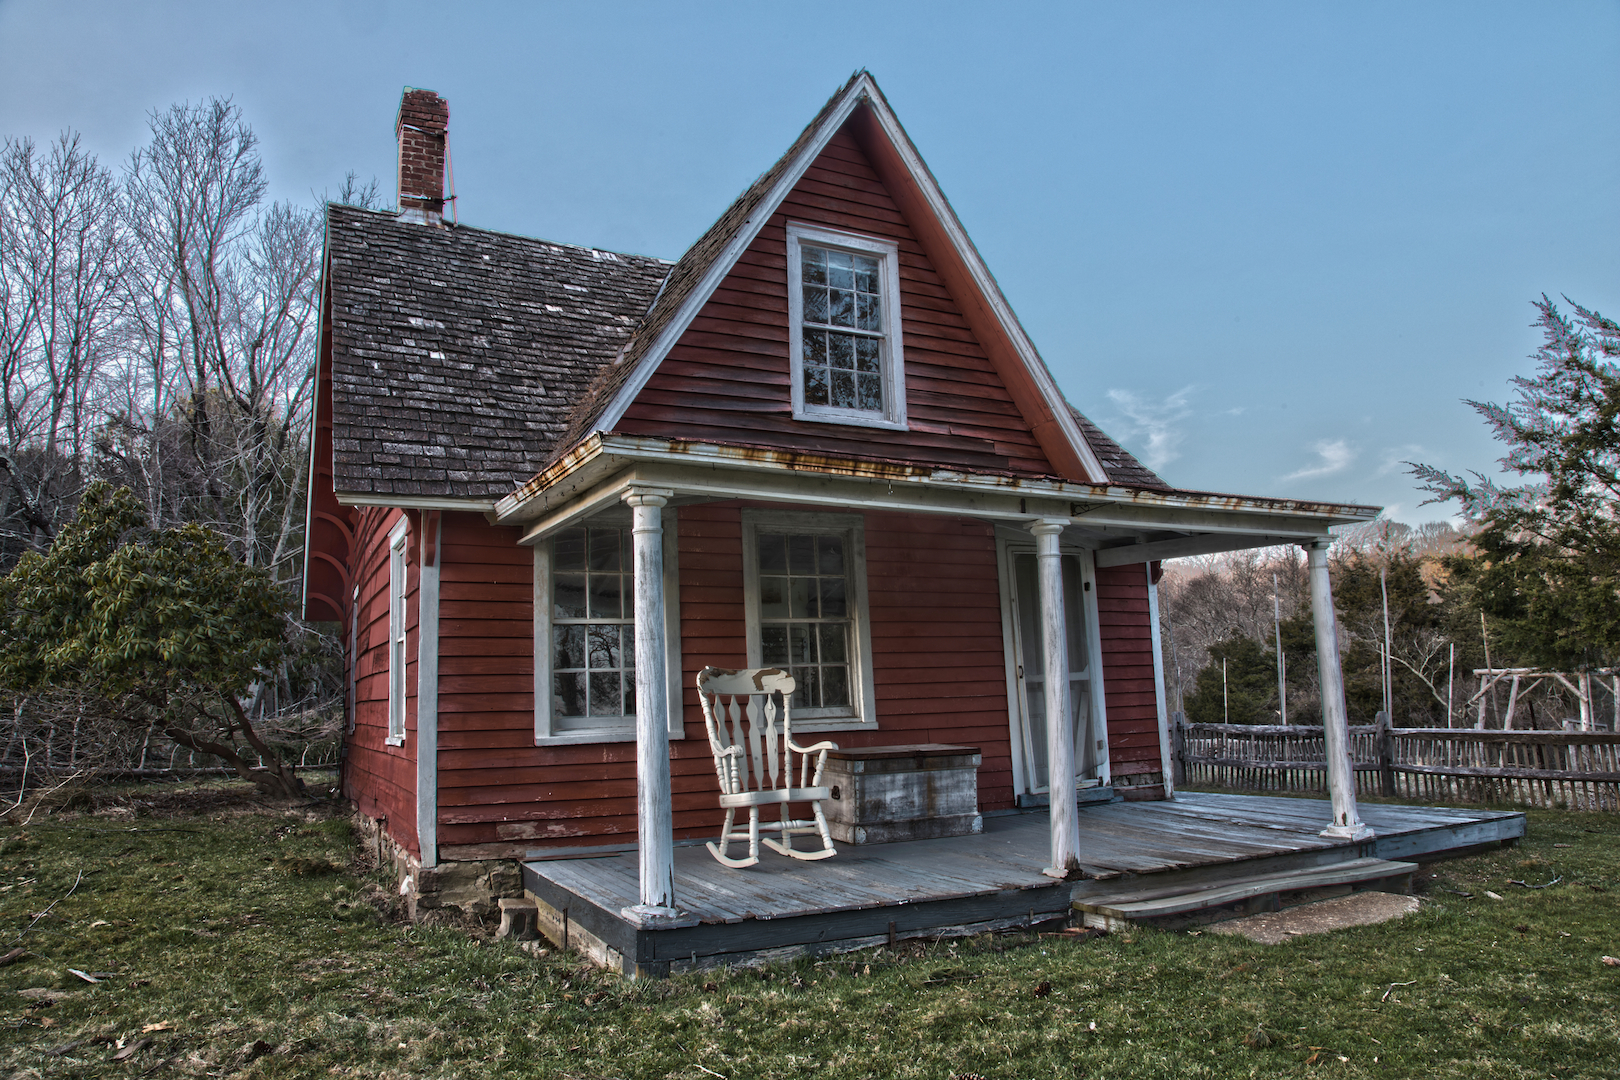
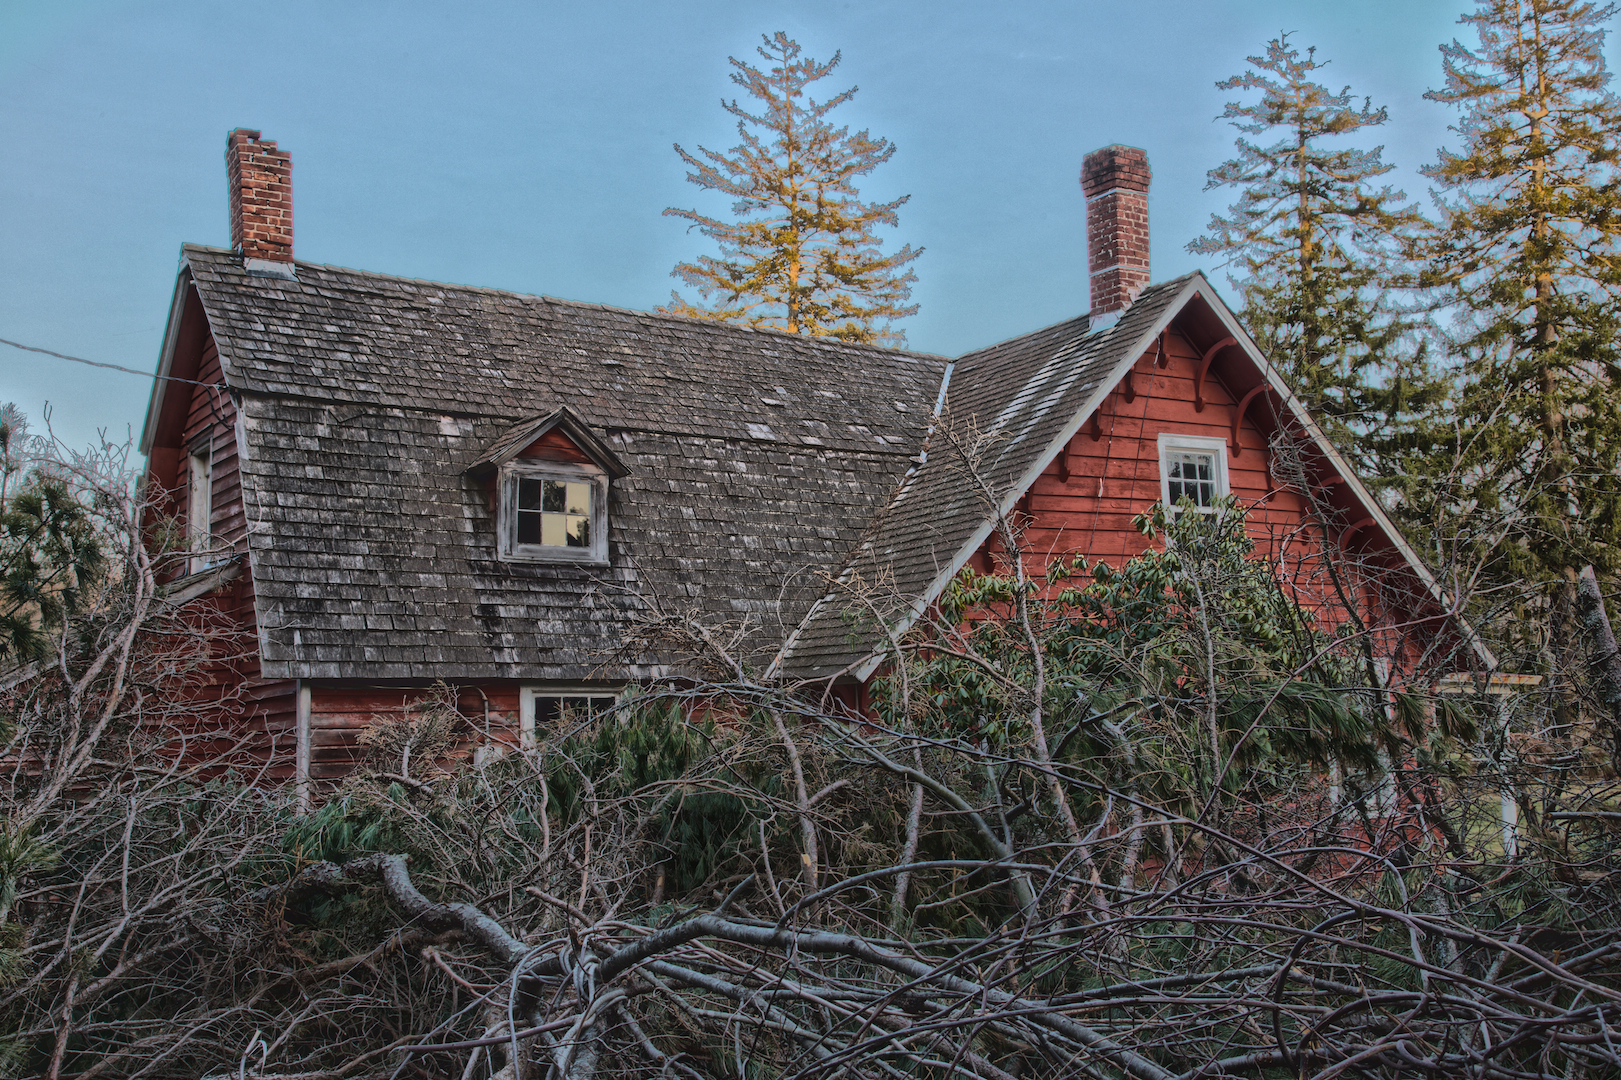
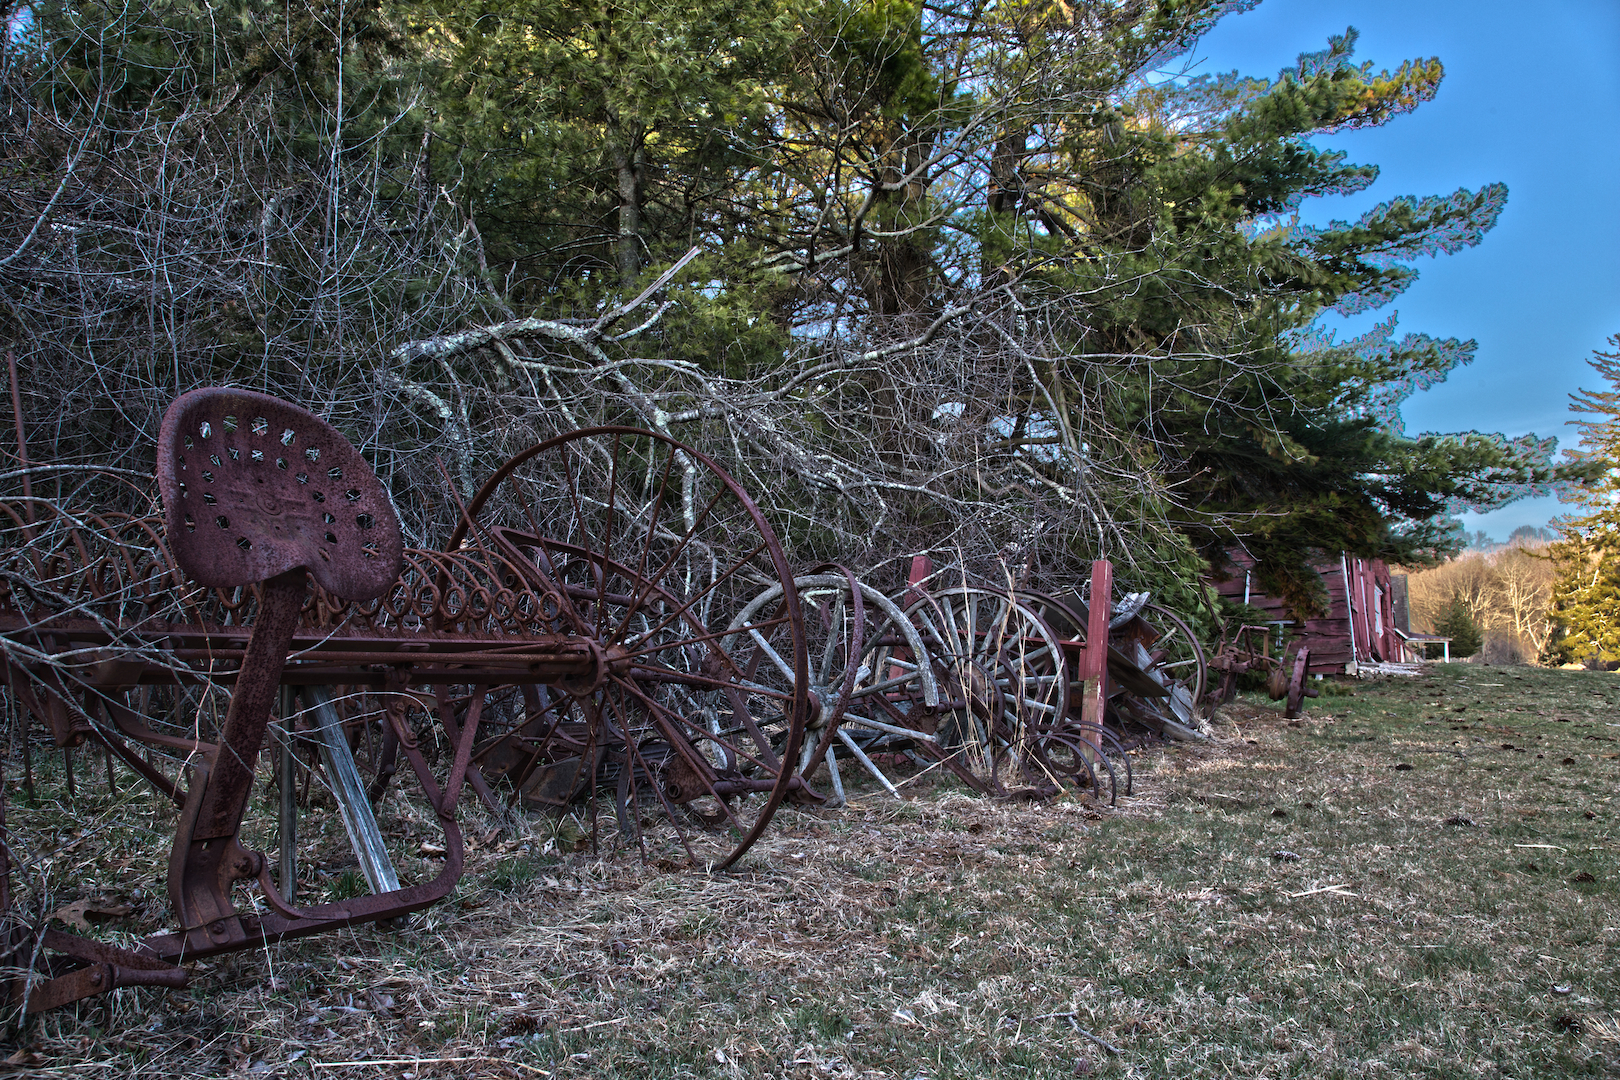
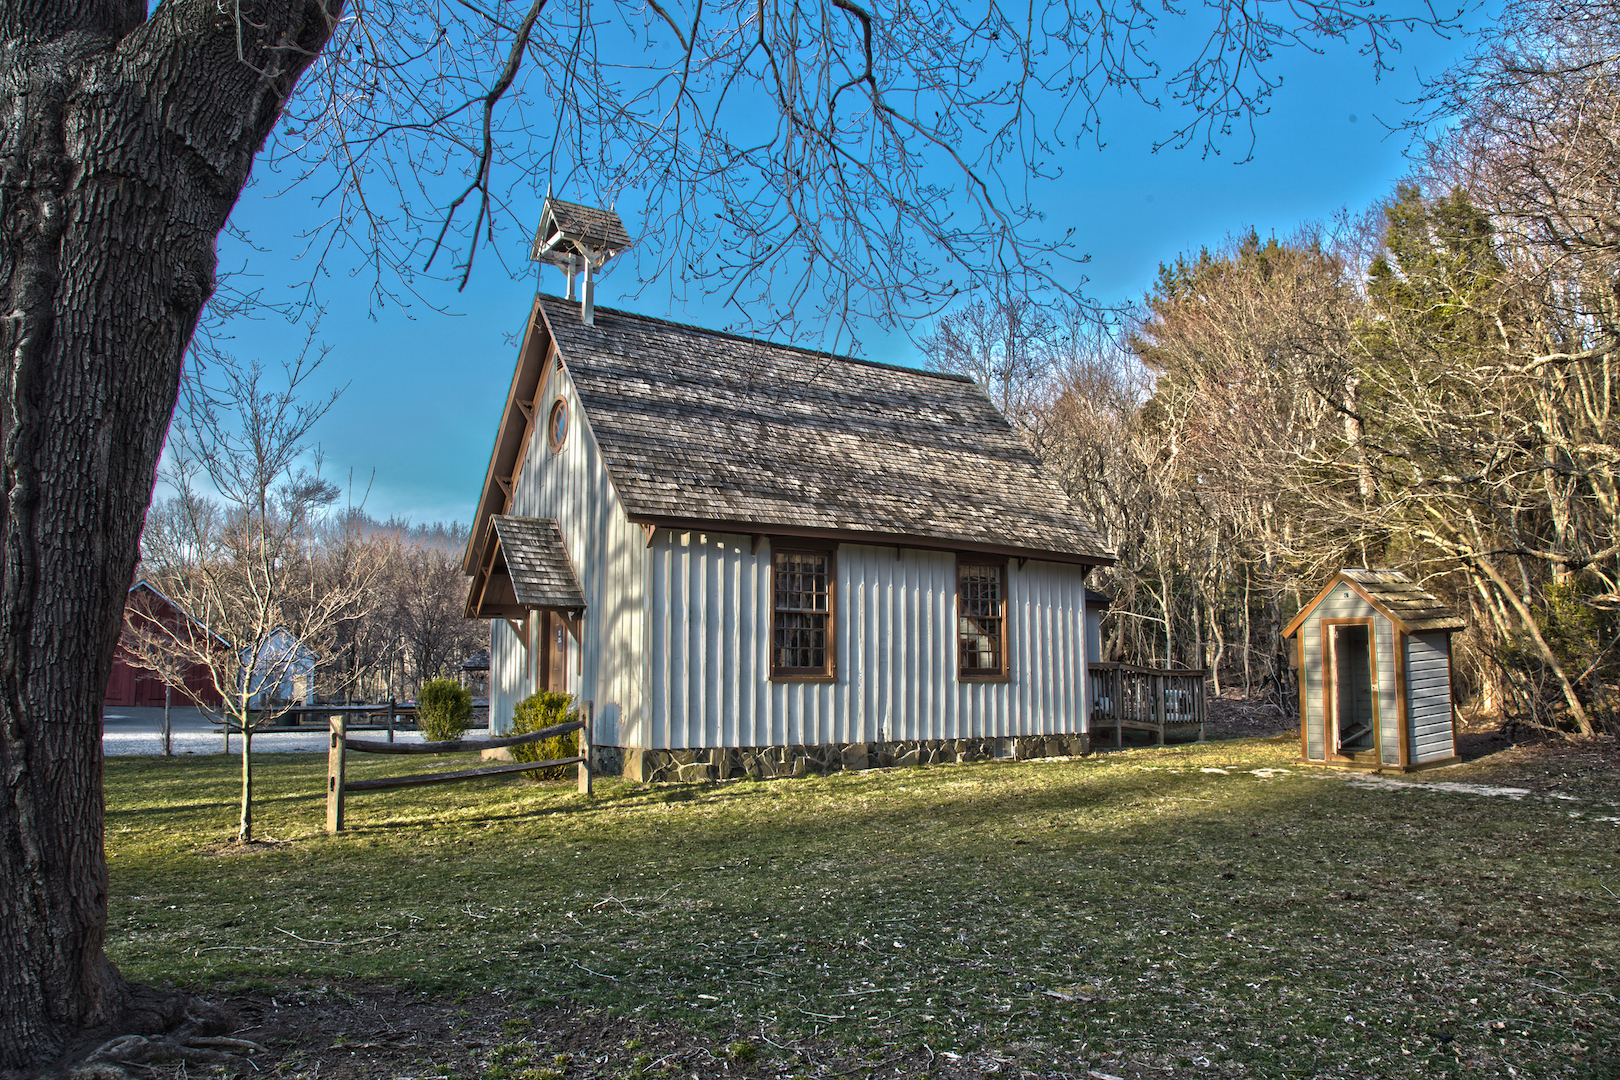
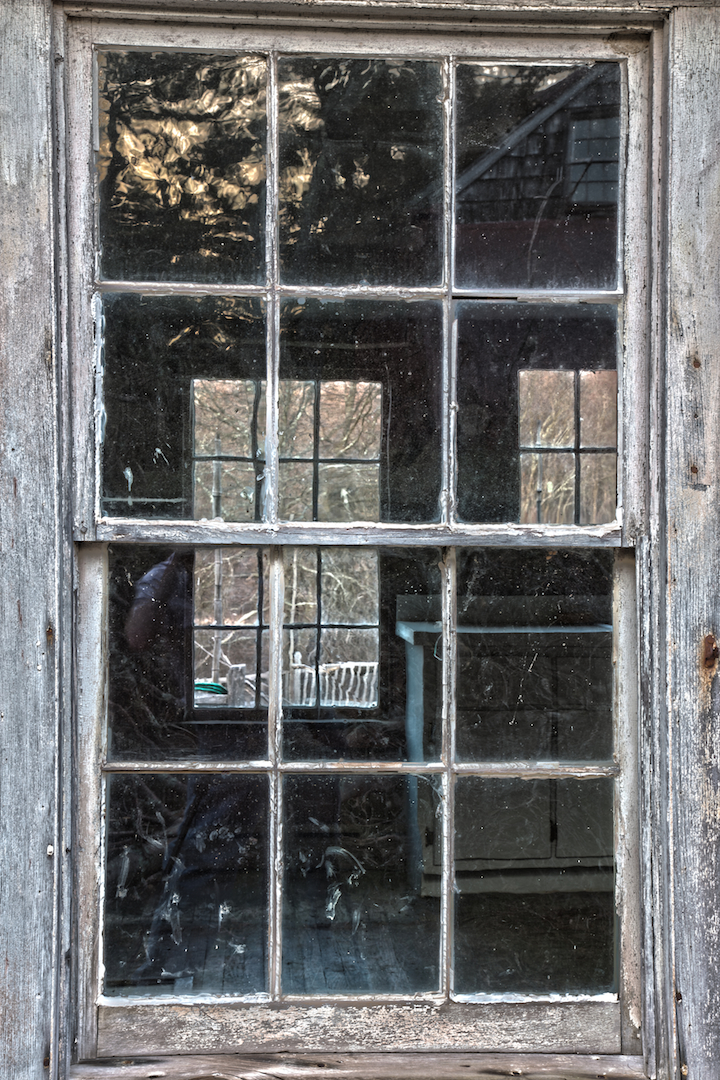
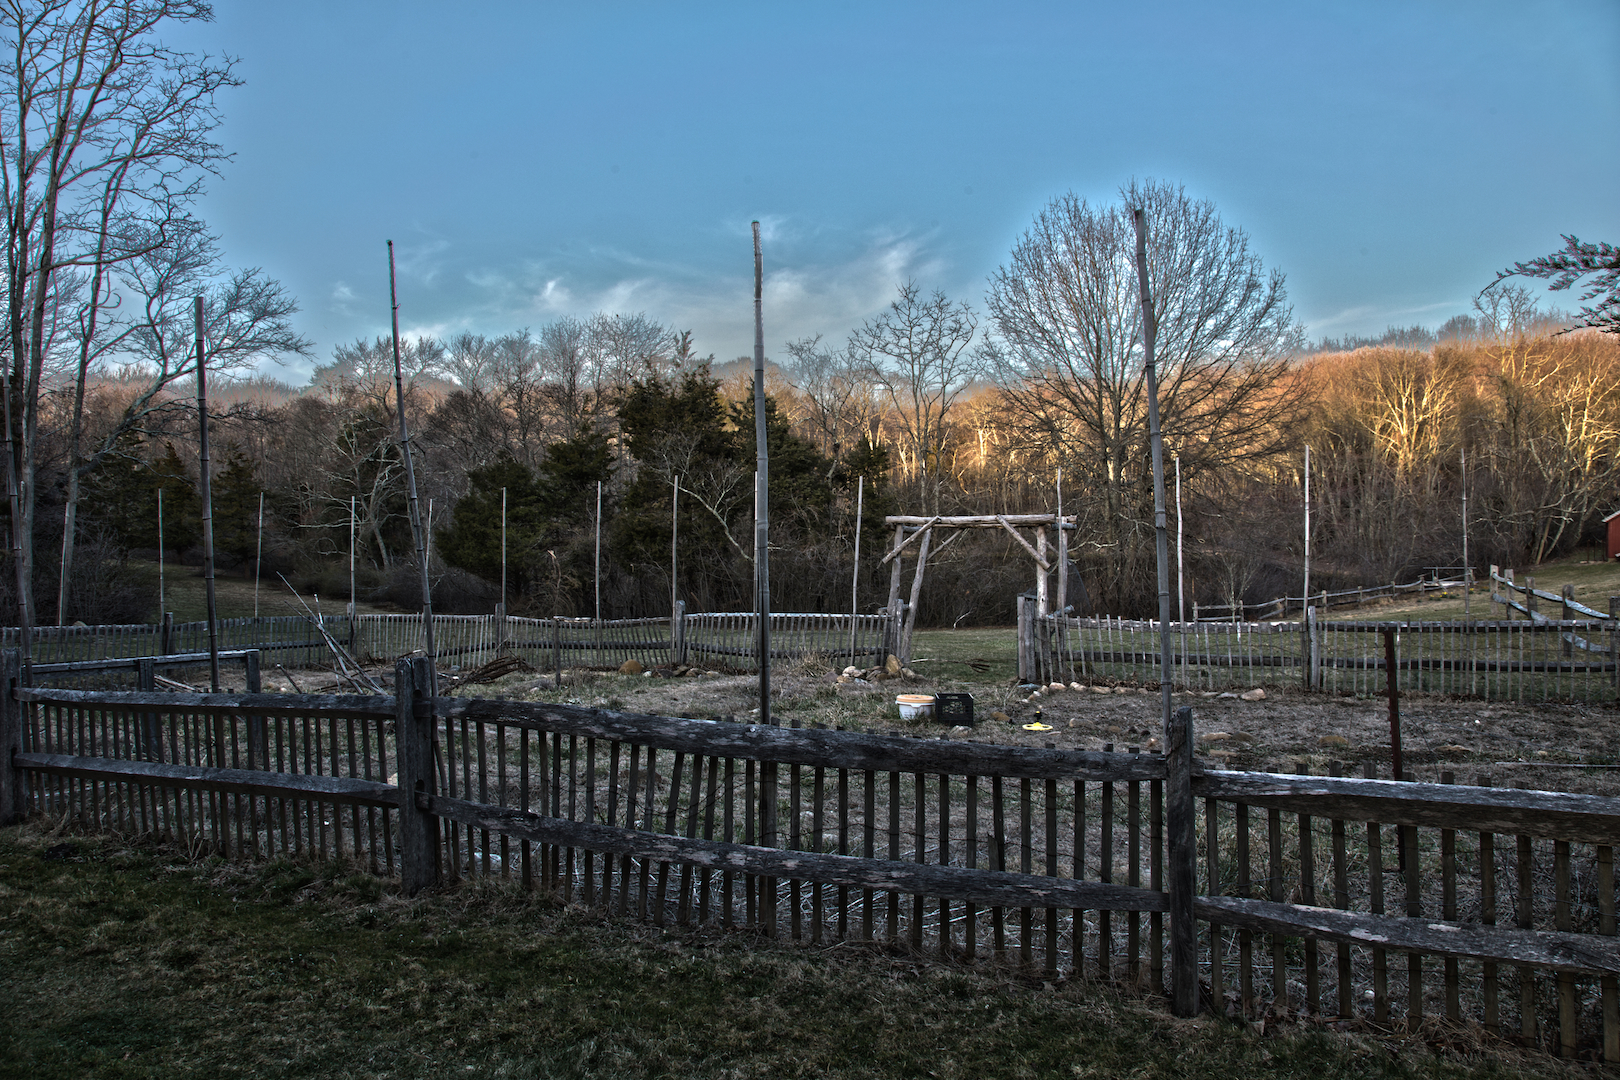
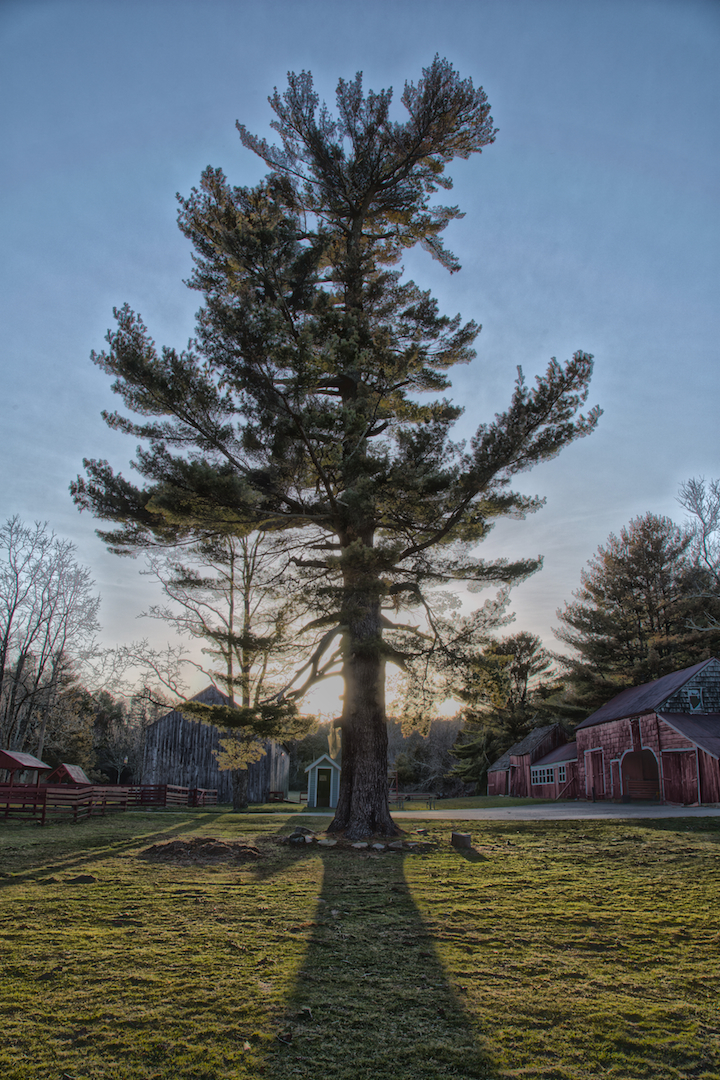
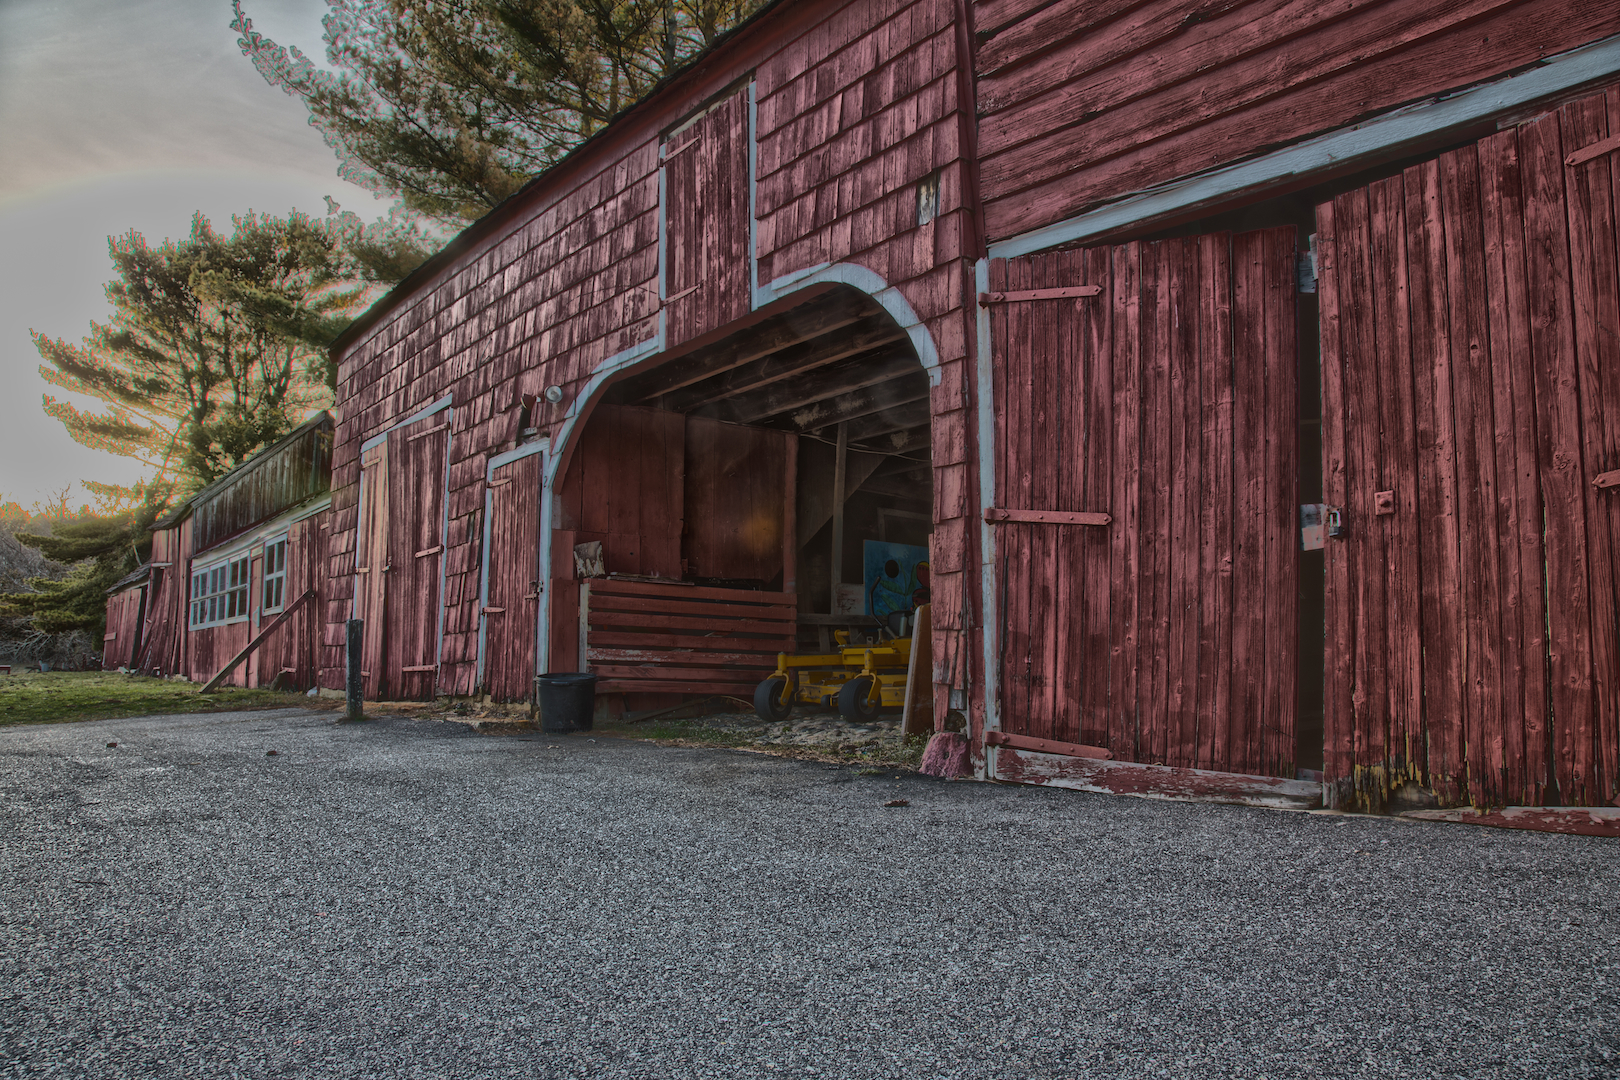
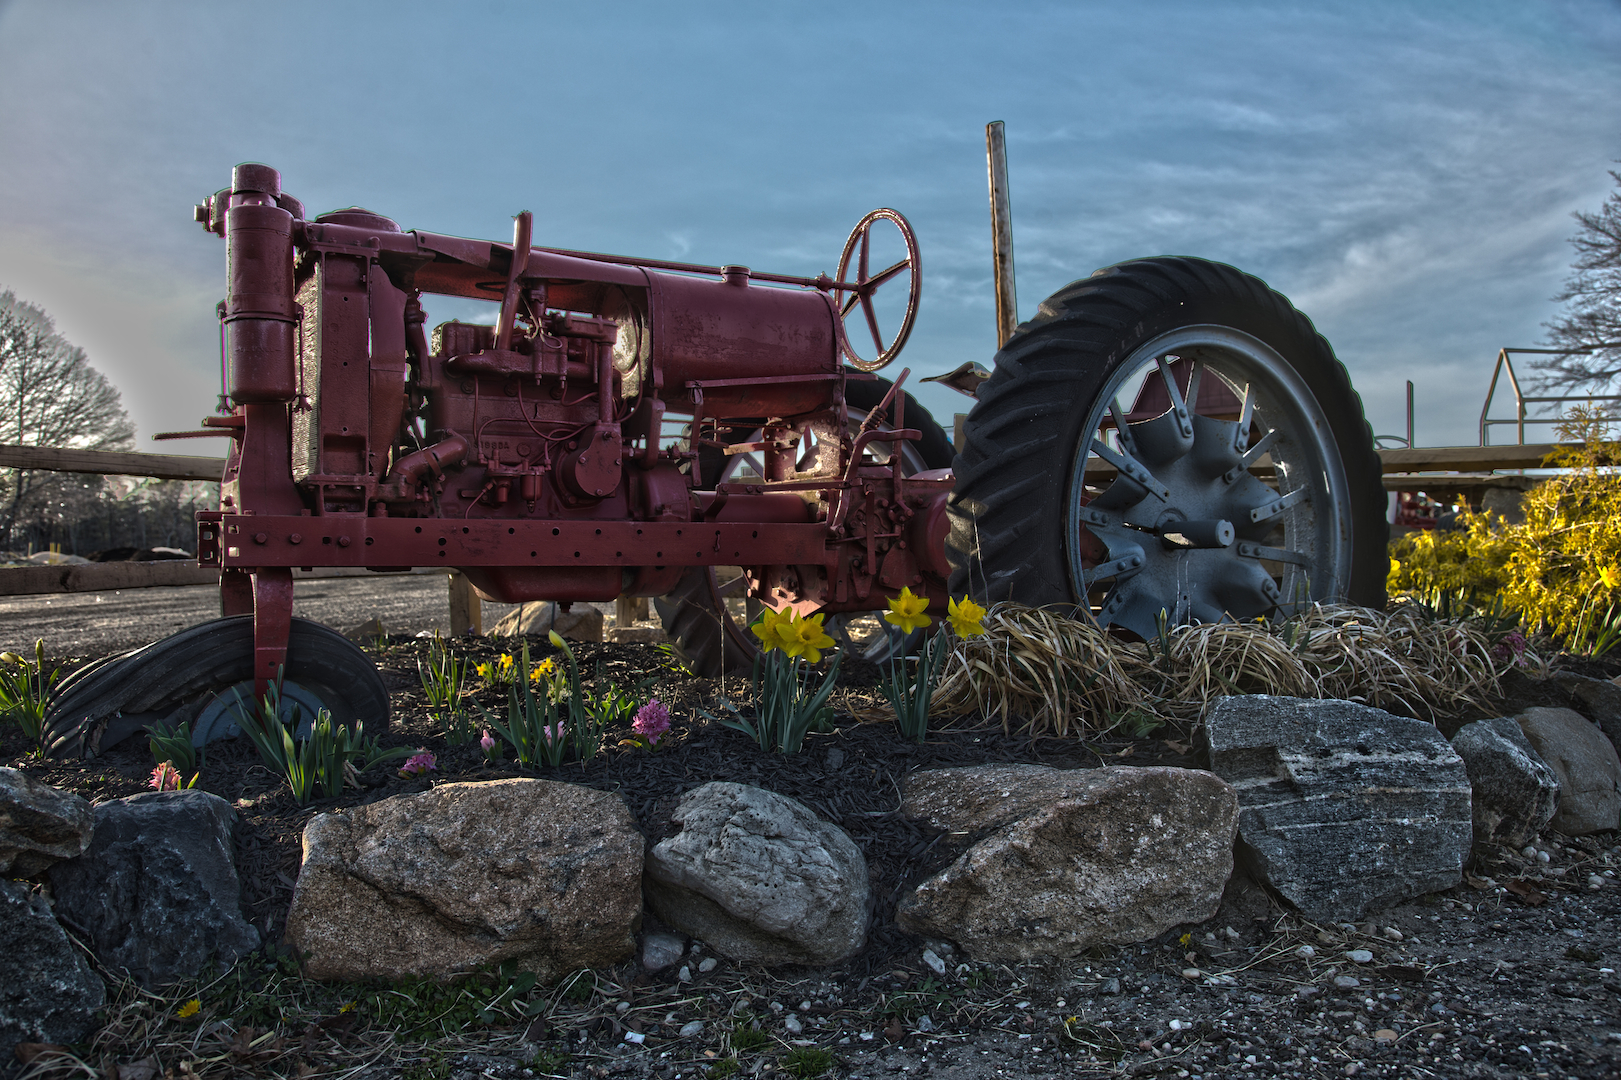
I have mixed feelings about the images that result from the HDR process. On one hand, I absolutely love the unnatural, almost surreal result, but on the other, I have reservations about my portrail of a scene in such dramatically artificial terms. Nevertheless, I have long wanted to try photographing specifically for HDR, to learn the process, and see for myself what is possible with the technique. These images are the result of my very first attempt. I received a number of compliments when I originally posted them, but a few non-photographer friends asked what HDR was.
What is HDR?
The semi-technical explanation (taken from Wikipedia): High-dynamic-range (HDR) is a set of methods used in imaging and photography to capture a greater dynamic range between the lightest and darkest areas of an image than current standard digital imaging methods or photographic methods. HDR images can represent more accurately the range of intensity levels found in real scenes, from direct sunlight to faint starlight, and is often captured by way of a plurality of differently exposed pictures of the same subject matter.
John’s simplified explanation: With a single image, a camera cannot register the same range of contrast (from dark shadows to bright highlights) with the same degree of detail as the human eye. By taking several images at different levels of exposure and then combining them into one single image, detail becomes much more discernable in the highlights and shadows of the resulting HRD image.
How’s It Done?
For each of these HDR images, I took three separate shots: one underexposed, one correctly exposed, and one overexposed: -3 | 0 | +3 stops. The underexposed image contains a lot more detail in the highlights (bright areas), which would have been “blown out” (turned completely white) in the correctly exposed image. Conversely, the overexposed image contains a lot more shadow detail, which would have been “crushed” (turned completely black) in the correctly exposed image.
Since the three separate images will be combined into one HDR image, it is very important that all three images contain the exact same scene (framing, depth of field, etc.) and only vary in exposure value. To do this, I used a sturdy tripod and shot in aperture priority (where only the shutter speed varied during the exposure bracketing) for each three-image set to ensure that the resulting images were identical in everything but exposure. When shooting environmental/landscape HDR, it also helps to shoot when there isn’t much wind to help obtain the exact same subject in all images. If the wind is blowing strongly, leaves and branches may be in different places in the frame for each image, which will lead to ghosting in the final HDR image.
To composite the three-image sets into HDR, I used PhotoShop CS6’s “Merge to HDR Pro,” which has a number of customizable presets that offer various blending options and intensity settings. There are plenty of tutorials on YouTube if you are interested in learning more about the PhotoShop HDR workflow.
Final Thoughts
Overall, I am really pleased with the resulting images, despite my general reservations with the artificiality of HRD images. I should note that the original three-image sets and the final HDR images you see here are the straight RAW files from the camera and were not edited in any way whatsoever. Despite using Photoshop’s “deghosting” feature when compositing the HDRs, I was a bit discouraged with the amount of ghosting, especially around the edges of the pine trees. I understand this is a common effect in almost all HDR images, but it something I will certainly work on minimizing in my next attempt.

